Setting up a server using txAdmin
A step-by-step guide on setting up a txAdmin FXServer.
Ultimate easy setup guide

Windows
Download the server
- Go to the Windows server build listing (‘artifacts’ listing, as in ‘build artifacts’).
- Download the latest recommended build.

- Open the
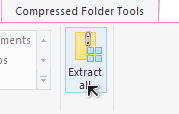
server.7zyou just downloaded. Use any third-party archiving tool (such as 7-Zip or WinRAR) to open the.7zfile.

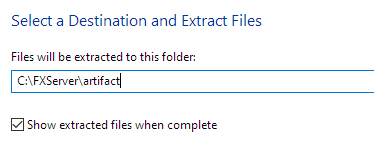
- Extract it somewhere you want to store it. We’ll pick
C:\FXServer\server.
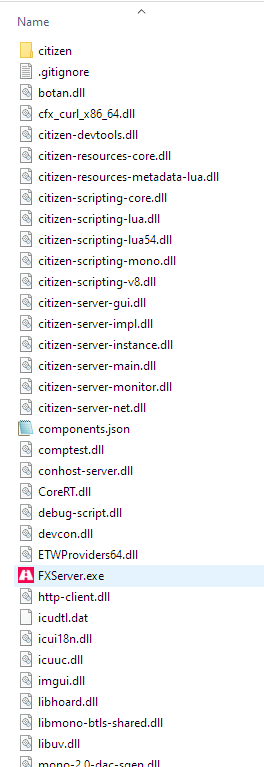
- Open the folder you just extracted it to. It should look a little like this:
Start the server
- Double click
FXServer.exe.

- This site should open in your browser. Make sure a PIN is filled, and click
Link Account.
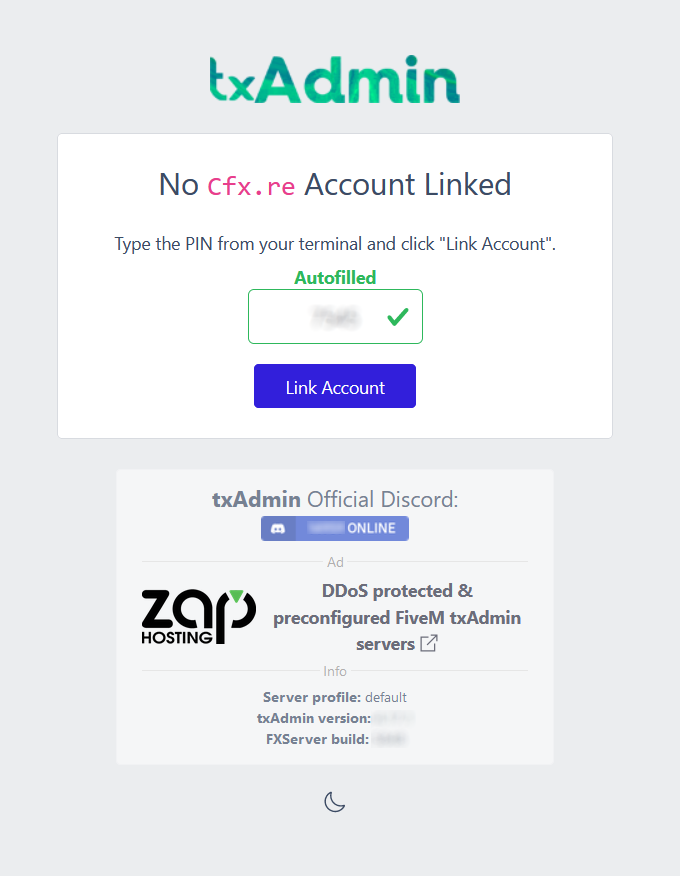
- Log in to your account on Cfx.re in this tab and then click
Yes, Allow.
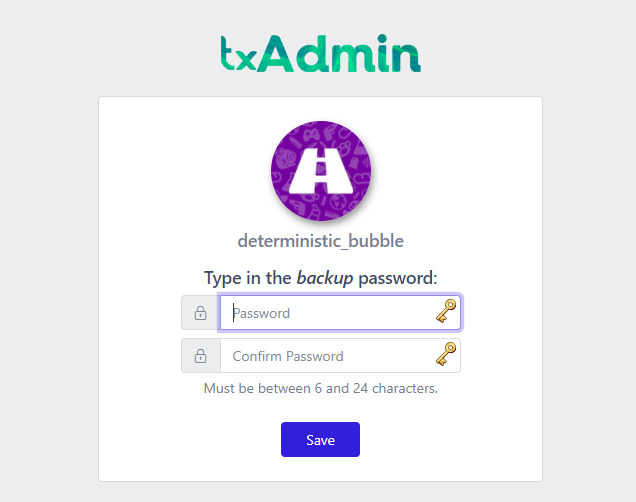
- Create a password to sign up to your server’s admin page.
- Click ‘Next’.

- Type a name for your server and click ‘Next’.
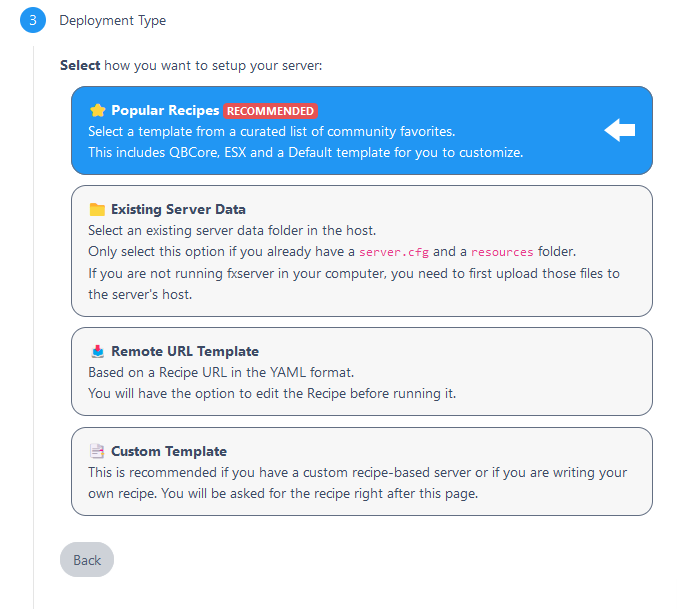
- Select ‘Popular Recipes’.
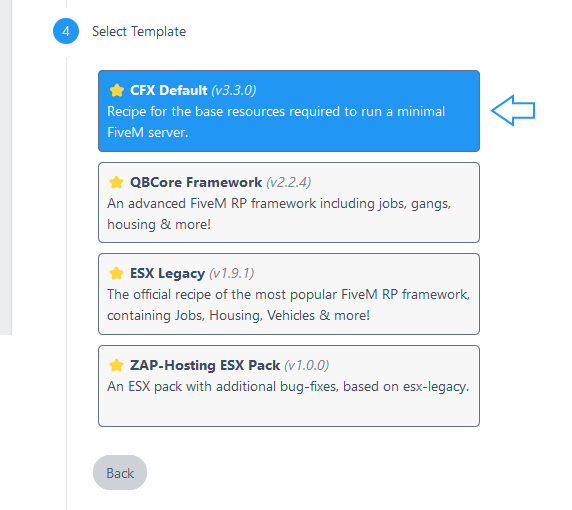
- Pick the ‘CFX Default FiveM’ template for now. Other templates may exist, but some will require a database server.
- Click ‘Save’ or select another path.
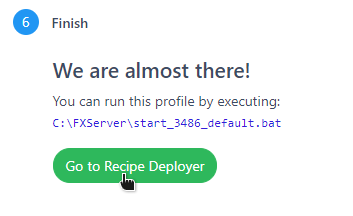
- Go to the ‘Recipe Deployer’.
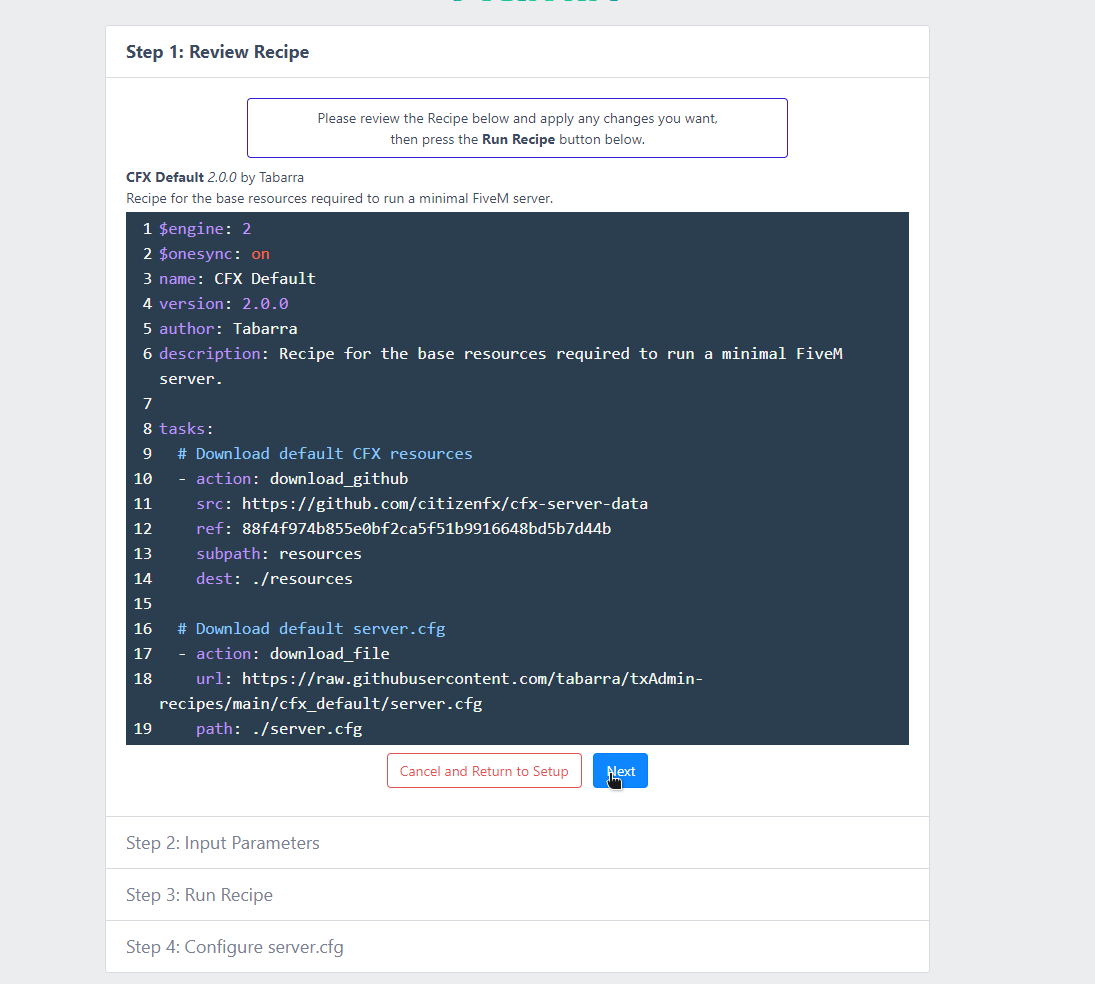
- Click ‘Next’ once you’re sure the recipe looks fine. It should be fine the way it comes.
- Enter the key you just made on the Portal in the ‘Before you begin’ step and click ‘Run Recipe’.

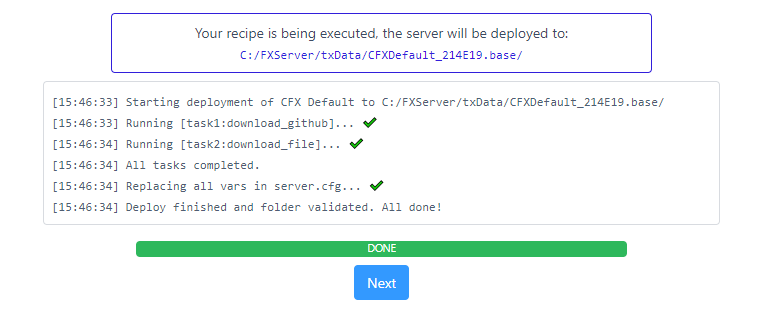
- If everything’s correct, you can click ‘Next’ again.
- … and finally, “Save & Run Server”, and you’re done!

Troubleshooting
If you’re facing slow server startups, refer to this.
Last modified December 2, 2024: Portal rollout (b6392de)